We actually bought the stamps way before we even started our STDs because I saw the stamps and wanted to use them before the post office changed them again. We picked out the awesome Pansy Love stamps that are purple and actually do go with our wedding color scheme now.
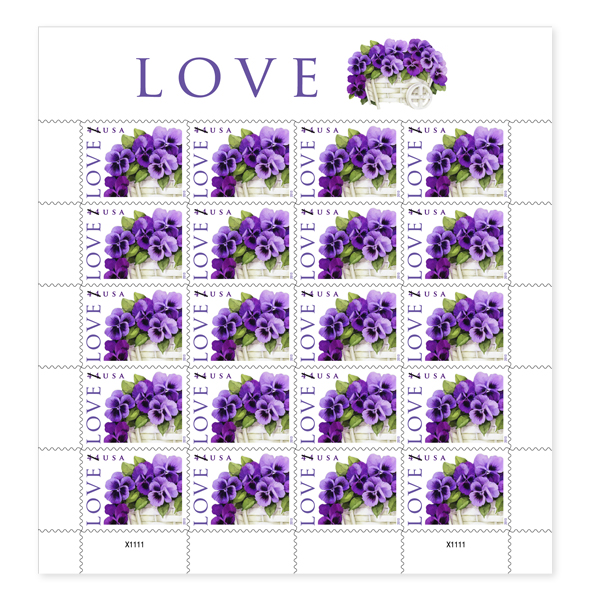
We even bought the pretty Digital Color Postmark Keepsake to keep for my wedding scrapbook that I plan to make post-wedding. It was only an extra $2 to buy the 20 stamps that came with the envelope keepsake. I thought it was a really cute idea, and I plan to do the same thing with the stamps we use for the invitations that we have yet to buy.

After picking out the stamps and envelopes, we had to decide how to address the envelopes.
My first choice was to use awesome wrap around envelope labels so that I wouldn't have to write A THING on the envelopes.

Not that I think my handwriting is hideous or anything, I just didn't want to spend the extra time addressing a ton of envelopes. But when we finalized our guest list, I realized that we didn't need to send out a ton of invites or save the dates and decided that I could hand write them after all. Plus the extra hassle of aligning the printer and placing the labels on the envelopes, was something I didn't want to have to deal with and thought that writing would just be quicker.
I wanted to step it up a little and enhance my natural penmanship. So I picked up a calligraphy pen from the scrapbooking isle at Target and tried it out. At first it was really awkward to hold and use, but with a little practice I got the hang of it.
Then I found a font that I felt I could mimic and practiced every letter capitalized and lower case.
Here are the results:

No, there are no fancy swoops and swirls, but I think they turned out pretty awesome!
And here is the back:

I really love the ampersand :)
And let me tell you a funny story about our second embossing party.
After I finished addressing all the envelopes and we were ready to send them out, we wanted to seal the envelope with some heat embossing. We decided on the rings which I stamped, then Mr. ATC poured on the clear powder but we didn't use the heat embosser until we had a few rows done to maximize efficiency. Well after we heat embossed the first batch, I had this sinking feeling in my stomach because I had JUST THEN realized that we were applying heat to METAL! And I FEAKED out that we had just ruined all the magnets in the envelopes that are now sealed and we had no way of checking. And we didn't have enough magnets or envelopes to replace them all. So we took an extra magnet and applied heat to it to see what would happen to it. It got wavy and shriveled after a significant time of exposure to the heat and I hoped that none of them looked like that in the envelopes. For the rest, we just applied the stamp, no powder, and no heat so they they all looked the same.
We are such geniuses! haha. I had first had the idea because of the wax sealed wedding invitations I had seen and thought hey, we could do that for our invites with embossing to get a similar effect without the bulk and worry of the wax falling off. Well when I had the idea for the Save the Dates, I didn't really think about the fact that after we sealed the envelopes that we would be applying heat to the back of a magnet.
So this is your warning from my mistake. Be careful when embossing magnet save the dates!
Did you use magnet save the dates? I think they are a really great trend in Save the Dates!
Next up, I will reveal our magnets, and the condition in which they arrived to our guests.
----------------------------------
P.s I hope everyone enjoyed their Thanksgiving Holiday!
No comments:
Post a Comment